CenterPoint® Accounting
- Enter a Vendor Invoice with Quantities and Unit Costs
Related Help
_24.jpg) Entering A/P Invoices with Quantities and Unit Cost Video - Duration: 8 min 31 sec
Entering A/P Invoices with Quantities and Unit Cost Video - Duration: 8 min 31 sec

Option A: Change the default screen so Quantity and Unit costs are entered
Prerequisite
You must have the Inventory module purchased and registered in the module configuration manager (File > Administration > Module Configuration Manager) prior to entering any vendor invoices for inventory items.
Option A: Change the Default Screen so Quantity and Unit Costs are Entered:
This option would normally be used if a user prefers to enter a quantity and unit cost on the majority, if not all, purchases of inventory items.
One - Time Setup: Change the Default Template Used for Vendor Invoices
- Select Setup > Accounts > Account Categories.
- Select the Inventory category and click Edit.
- Click on the Templates tab.
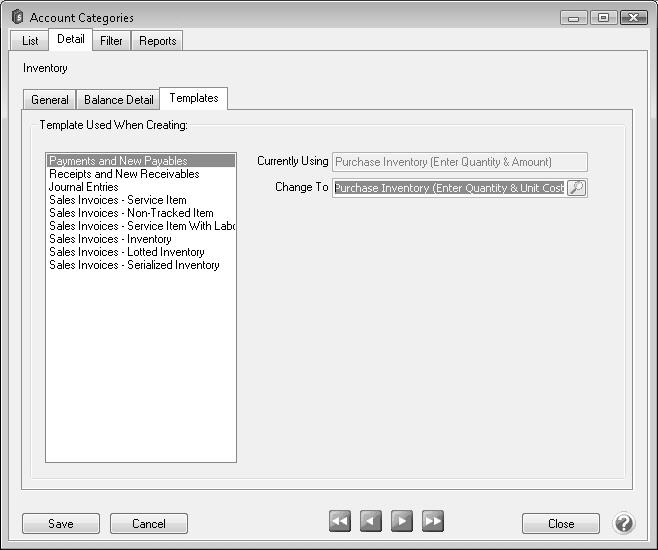
- Select Payments and New Payables on the left.
- On the right, the Currently Using field will display Purchase Inventory (Quantity and Amount). In the Change To field,select Purchase Inventory (Enter Quantity & Unit Cost).
- Click Save.
After changing the template assigned to the inventory account category, any time an inventory item is added to a vendor invoice, it will expect you to enter a Quantity and a Unit Cost. The system will then calculate the extended Amount.

Option B: Change a specific row(s) to entering Quantity and Unit Costs instead of Quantity and Amount.
The template assigned to a row in vendor invoices is how the system knows if it should allow a Quantity and Unit Cost to be entered, or a Quantity and Amount. In this example, the default will still expect the user to enter a Quantity and Amount, but we'll explain how you can display the template column right in the grid so that it can easily be switched while an invoice is entered.
One-Time Setup: Add the Template Column to the Vendor Invoices (A/P) Grid:
- While in Processes > Purchases > Vendor Invoices (A/P), right click in the grid where items are added to an invoice and choose Add/Remove Columns to display the Adjust Displayed Columns screen.
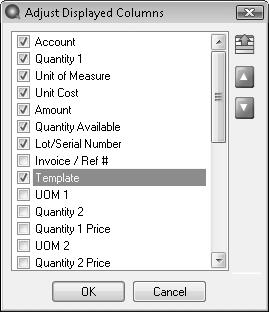
- Put a check mark in Template and click OK.
Switch Between Templates While Entering Inventory Items to an Invoice
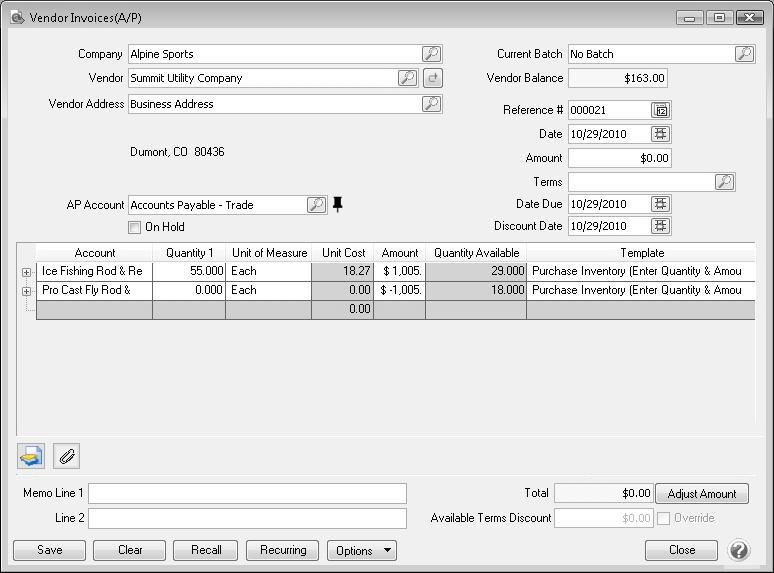
- Follow the normal procedures for entering an Vendor Invoice. See the Enter a Vendor Invoice with Inventory topic for detailed instructions.
- While adding inventory items to the vendor invoice, the template column will be displayed. When purchasing inventory items, It will default to Purchase Inventory (Quantity and Amount), which will allow the user to enter a Quantity and an extended Amount.
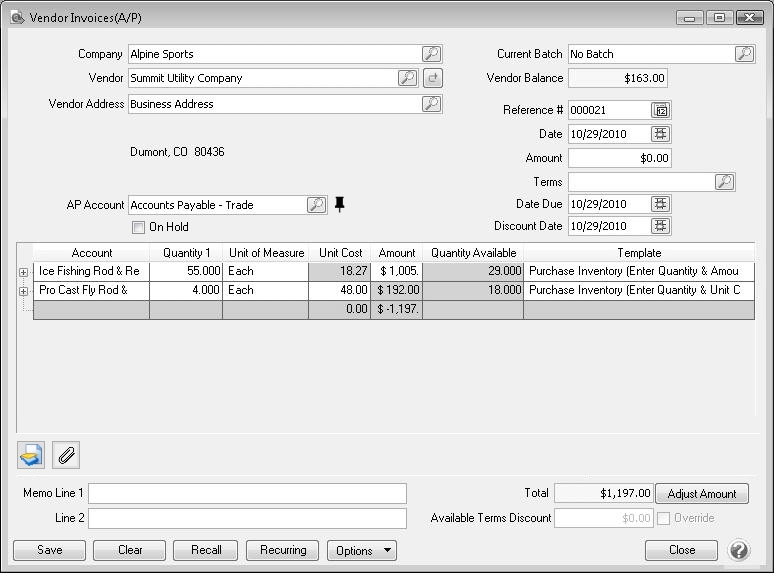
- If the user would prefer to enter a Quantity and a Unit Cost on a row, simply change the template to Purchase Inventory (Quantity and Unit Cost). After changing the template, the Unit Cost field on that row will be available and the Amount field will be a calculated.
|
Document: 3141 |
|---|