CenterPoint® Fund Accounting
- Name Groups
Related Help
_24.jpg) Name Groups Video - Duration: 4 min 58 sec
Name Groups Video - Duration: 4 min 58 sec
Names - General, Addresses, Credit Cards, Custom Name Fields tabs Video - Duration: 14 min 30 sec
Names - Email/Print tab Video - Duration: 5 min 13 sec
Names - ACH Payments tab Video - Duration: 5 min 21 sec
Name, Customers, and Vendors Mass Update - Duration: 4 min 25 sec

Create name groups (or categories) that are meaningful to your business. For example, you might group customers into industry groups (consultants, manufacturers, contractors, etc.) or geographic groups (north metro, rural, central city, etc.) or type of customer (Wholesale, Retail, Referral Partner). Name groups are used in reporting and as a filter to limit the range of names in many reports.
Create a Name Group
- On the Setup menu, point to Names, and then click Name Groups.
- Click New or if this new name group is similar to an existing name group, highlight the existing method and click Copy instead of New. A new name group will be created using the same information as the highlighted name group.
- In the Abbreviation box, enter up to ten characters of optional information that you can easily identify the name group by. For example, W for Wholesale.
- In the Name box, enter up to 50 characters that describe the name group.
- In the Type box, select the type of name group the group applies to Names\, Customer, Vendor, Employee, or Salesperson.
- Click Save to save the name group and return to the List tab, or click Close to save the name group and close the Name Groups screen.
Edit a Name Group
- On the Setup menu, point to Names, and then click Name Groups
- Select the name group you want to change, and then click Edit.
- The Name Group Information is displayed. Edit or view the name group detail.
- Click Save to save the name group and return to the List tab, or click Close to save the name group and close the Name Group screen.
Delete a Name Group
- On the Setup menu, point to Names, and then click Name Groups.
- Select the name group(s) you want to delete, and then click Delete .
- At the "Are you sure you want the item deleted?" message, click Yes.
Assign a Name to a Group
- In Setup > Names > Names.
- Edit a name that belongs in a name group.
- On the General tab, in the Group box, select the name group this name belongs to.
- Click Save.
- Repeat this process for each name you wish to assign to a name group.
Use a Name Group as Criteria on a Report
Report selections can use name groups to filter your list of names.
- Select a report such as Transaction Reports > Purchases & Accounts Payable > Purchases by Vendor.
- Under Report Selections, select Vendor.
- Under Filtering, select Name Group. Select a name group. The list of names are filtered to the names assigned to the selected group.
- Move all names in the Available column to the Selected column with the double right arrows.
- Click OK.
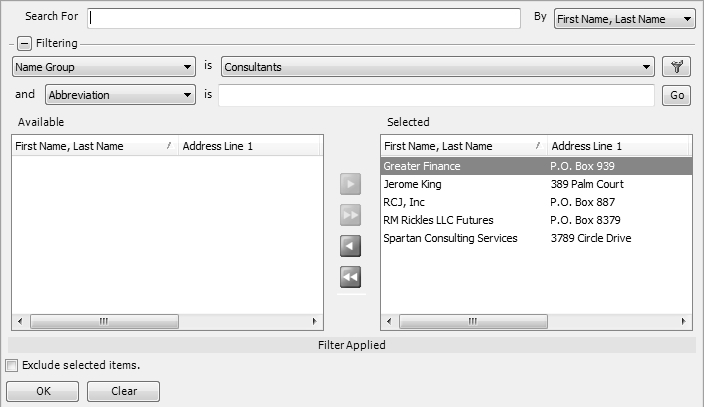
- Click Preview. The report includes data assigned to the filtered names.
- The report can be saved as a favorite. Favorite reports retain filter selections as well as column and group/sort modifications.
|
Document: 3261 |
|---|