CenterPoint® Accounting
- Filtering the Account List in Transactions
Related Help
_24.jpg) Customizing Lists Using Filters Video - Duration: 5 min 22 sec
Customizing Lists Using Filters Video - Duration: 5 min 22 sec

Your account list includes all Assets, Liabilities, Equities, Expenses, Cost of Goods, Other Expenses, Revenue, and Other Revenue accounts. You will typically not need to see all accounts in the individual transaction screens. For example, in the Payment screen you might only need to see Expenses and Liabilities. The filter on the Lookup screen allows you to manage the accounts you wish to see. Filters can be used in reports, transactions, and transaction search. Each screen can have its own default filter.
In the examples below, we will be creating a basic filter in the Payment screen so the account list only includes expense accounts and then explaining how to use custom filters to filter on multiple items.
Setup a Basic Filter
- Select the Payments screen.
- Click the Lookup button
 in the Account field. The list of accounts display.
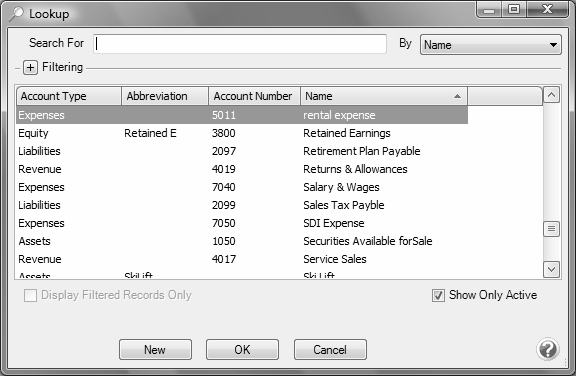
- Expand Filtering at the top of the Lookup screen by clicking on the
 . By default, no filtering is applied so all accounts are included in the list.
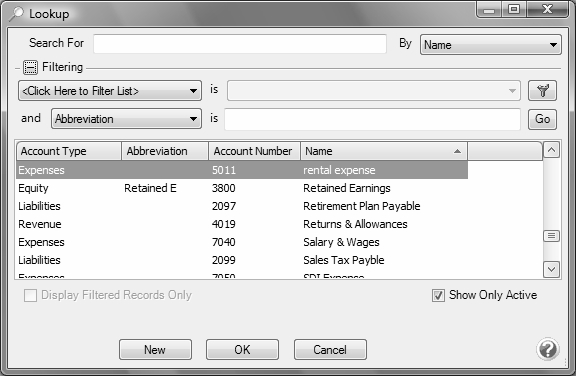
- Click the down arrow on the field indicating <Click Here to Filter List>. The list displays the preset filters for accounts. Select Account Type for this example, as our goal is to display only expense accounts.
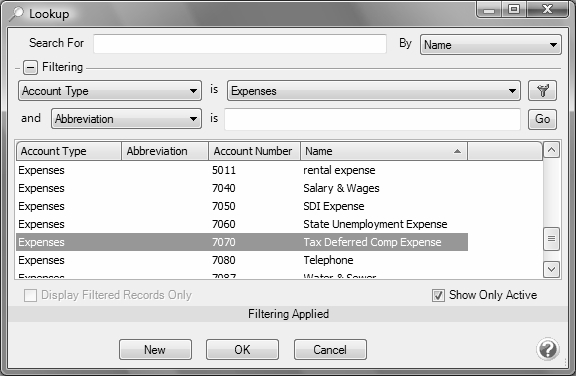
- After selecting Account Type, select Expenses in the is field to the right. A yellow bar at the bottom indicates “Filtering Applied” when a filter is in use.
- If you would like the Account field in the Payments screen to always default to the expense accounts only, then right click on Account Type and select Set as Default.
- Click OK to exit the account Lookup screen.
Set Up a Custom Filter
If you would like your filter to include more options, a custom filter can be created. For example, maybe you'd like to include not only expense accounts in the payments screen but liability accounts also. This can be accomplished by setting up a custom filter. In this example, we will create a custom filter that includes only expense and liability accounts in the account lookup in payments.
- Follow steps 1-3 in the Setup a Basic Filter instructions above.
- Click on the green Custom Filter button
 on the upper right side of the Lookup screen.
 - In the Custom Filters screen, click on the New button
 .
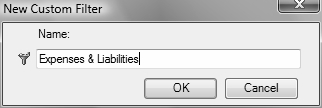
. - In the Name field, type in something that will identify this filter to you, for example Expenses & Liabilities, then click OK.
- Under Select a Filter on the left side of the Filters screen, scroll down to the Account Categories section. Select Account Type.
- In the Available column on the right side of the screen, move the Expenses and Liabilities account types to the Selected column on the right side of the screen using the green arrow buttons.
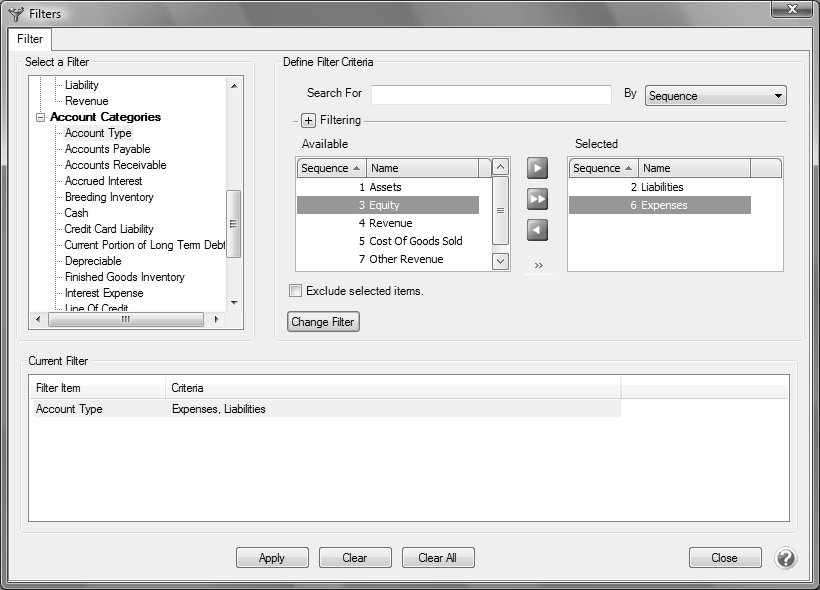
- Click Add Filter, and then click Apply and OK to add your new custom filter to the predefined list of filters.
- If you would like the Account field in the Payments screen to always display the Expense and Liability accounts, right-click on the filter Expense & Liabilities, and then select Set as Default.
- Click OK to exit the Account Lookup screen.
|
Document: 3058 |
|---|