CenterPoint® Accounting
- Export Report to Microsoft® Excel, Adobe® PDF, or CSV
Related Help

If you'd like to share your CenterPoint reports with an accountant, the banker, a landlord, shareholders, board of directors, or a particular customer or vendor, the data can be exported to an Excel or PDF document. The export creates a file. Opening the PDF file displays on another machine identical to the report preview displayed within CenterPoint. The Excel file displays in an Excel spreadsheet format with the same column headings and data viewed within the CenterPoint report. The exported file can be attached to an email to your third party user or saved to an external drive and given to your third party user.
There are multiple ways a report can be exported from CenterPoint:
Export Report with Previewing
- Select Reports > Reports. Select any report from the Reports or Favorites tab.
- Set the Report Selections on the right.
- Click the Export button.
- Select Export to Excel (XLSX), Export to Excel 97-2003 (XLS), Export to PDF, Export to CSV, or Export Raw Data to CSV (this option creates a CSV file with a column for every field used for processing the report (this option may include data not shown on the report that is used for preparing the report for display).
- Select a location to save the file. This can be a folder on your computer or an external drive.
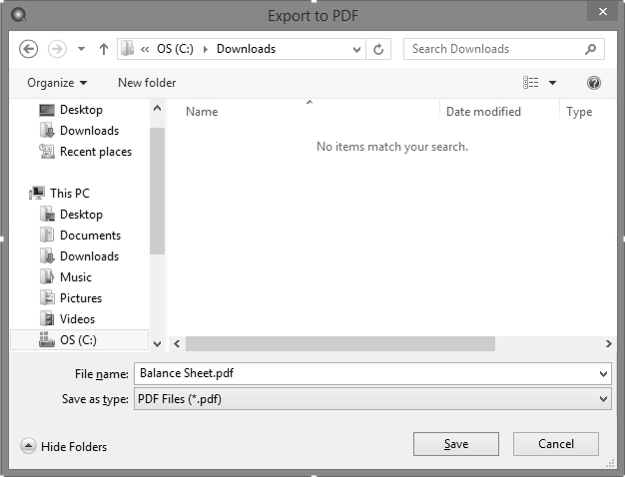
- The report title defaults as the File name but can be changed.
- Click Save.
Export from Preview of Report
- Select Reports > Reports. Select any report from the Reports or Favorites tab.
- Set the Report Selections on the right.
- Click the Preview button.
- If needed, make changes to the report using the Columns or Group/Sort tabs.
- From the row of icons at the top of the report, select the Export icon.
- Select the method for exporting; Export to (XLSX), Export to Excel 97-2003 (XLS), Export to PDF, Export to CSV, or Export Raw Data to CSV (this option creates a CSV file with a column for every field used for processing the report (this option may include data not shown on the report that is used for preparing the report for display).
- Select a location to save the file. This can be a folder on your computer or an external drive.
- The report title defaults as the File name but can be changed.
- Click Save.
Export a Batch (Group) of Reports
CenterPoint Batch Reports allow you to create a group of reports that can be printed or exported at the same time. For example, your accountant may need several reports every month. Reports in a Batch will export as one file that includes each report consecutively.
- If you haven't already created the Batch, do the following, otherwise skip to step 2.
- Select Reports > Reports > Favorites tab.
- Right-click and select New Folder to create a report folder/batch.
- Enter a Name for the Batch, such as Accountants Monthly Reports and click OK.
- From Reports > Reports > Reports tab, right-click on the reports you want in the new group and select Add to Favorites.
- Select Reports > Reports > Favorites tab.
- Drag and Drop each of the reports into the new batch.
- From Reports > Reports > Favorites tab, click on the batch to be exported.
- Click the Export button.
- Select the method for exporting; Export to (XLSX), Export to Excel 97-2003 (XLS), Export to PDF, Export to CSV, or Export Raw Data to CSV (this option creates a CSV file with a column for every field used for processing the report (this option may include data not shown on the report that is used for preparing the report for display).
- Select a location to save the file. This can be a folder on your computer or an external drive.
- The report title defaults as the File name but can be changed.
- Click Save.
|
Document: 3247 |
|---|